Quickstart
If you want to quickly have a server running up so to publish, install and explore packages, you found the right place! This page will guide you in the very first steps of installing and configuring a pryv server.
pryv is available on https://pypi.org. Use the following command to install it:
pip install pryv
Note
If you want to use pryv with its integrations to Amazon Web Services, you should install it
using the aws extra option:
pip install pryv[aws]
You can as well install pryv in a virtualenv, however it is not recommended for production environment.
Now that pryv is installed on your machine, you can start it by using:
pryv start
The api and the explorer are then available. Open your browser and navigate to http://127.0.0.1:5555. You should land on pryv’s setup interface, that looks like this:
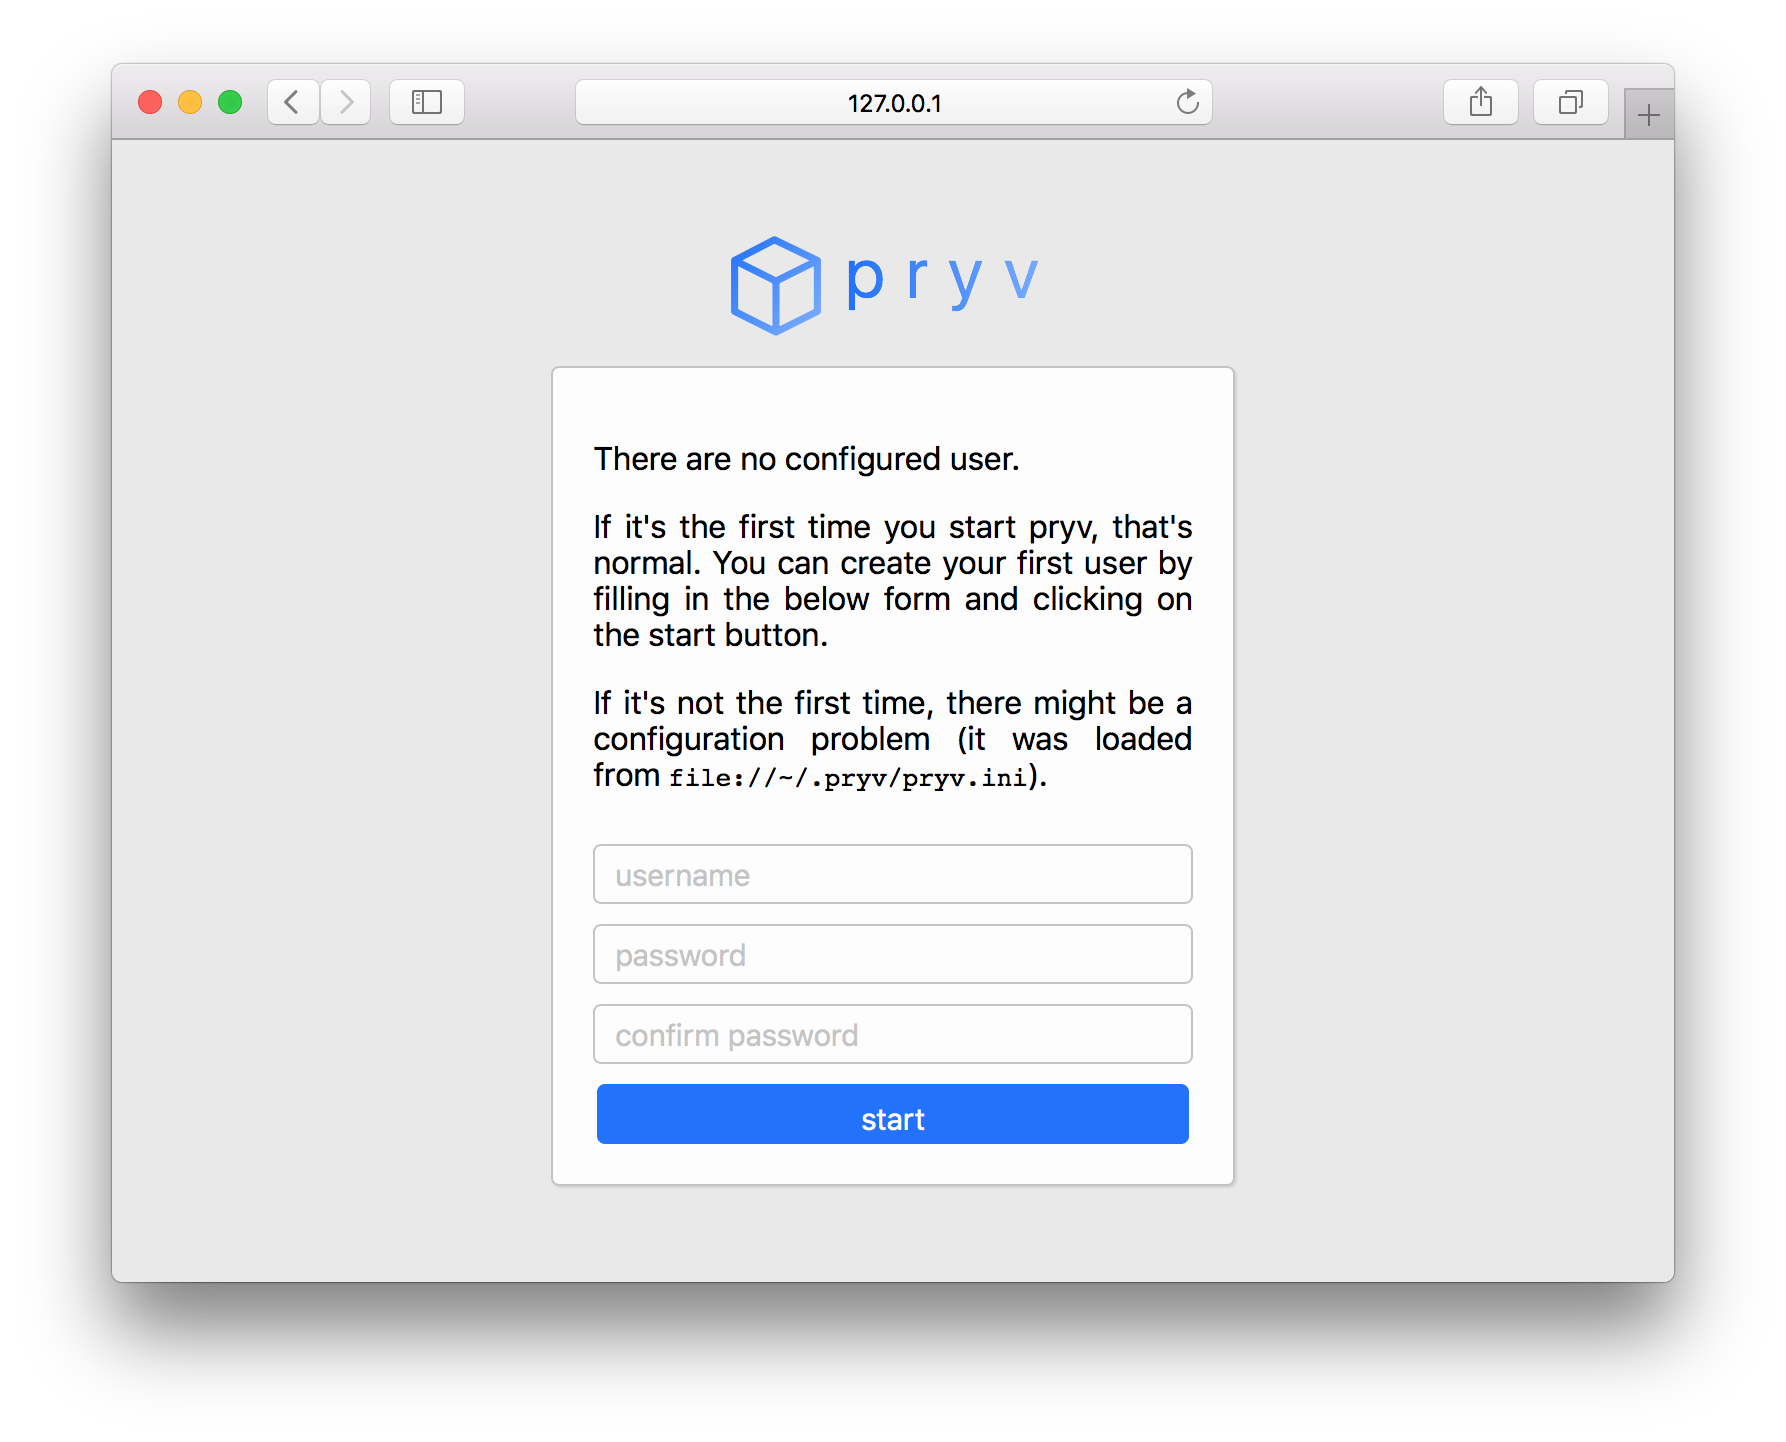
Once you have filled in the username, password and password confirmation fields, click on the start button. You have just created your first user and pryv is now ready for use. You should land on a page that looks like:
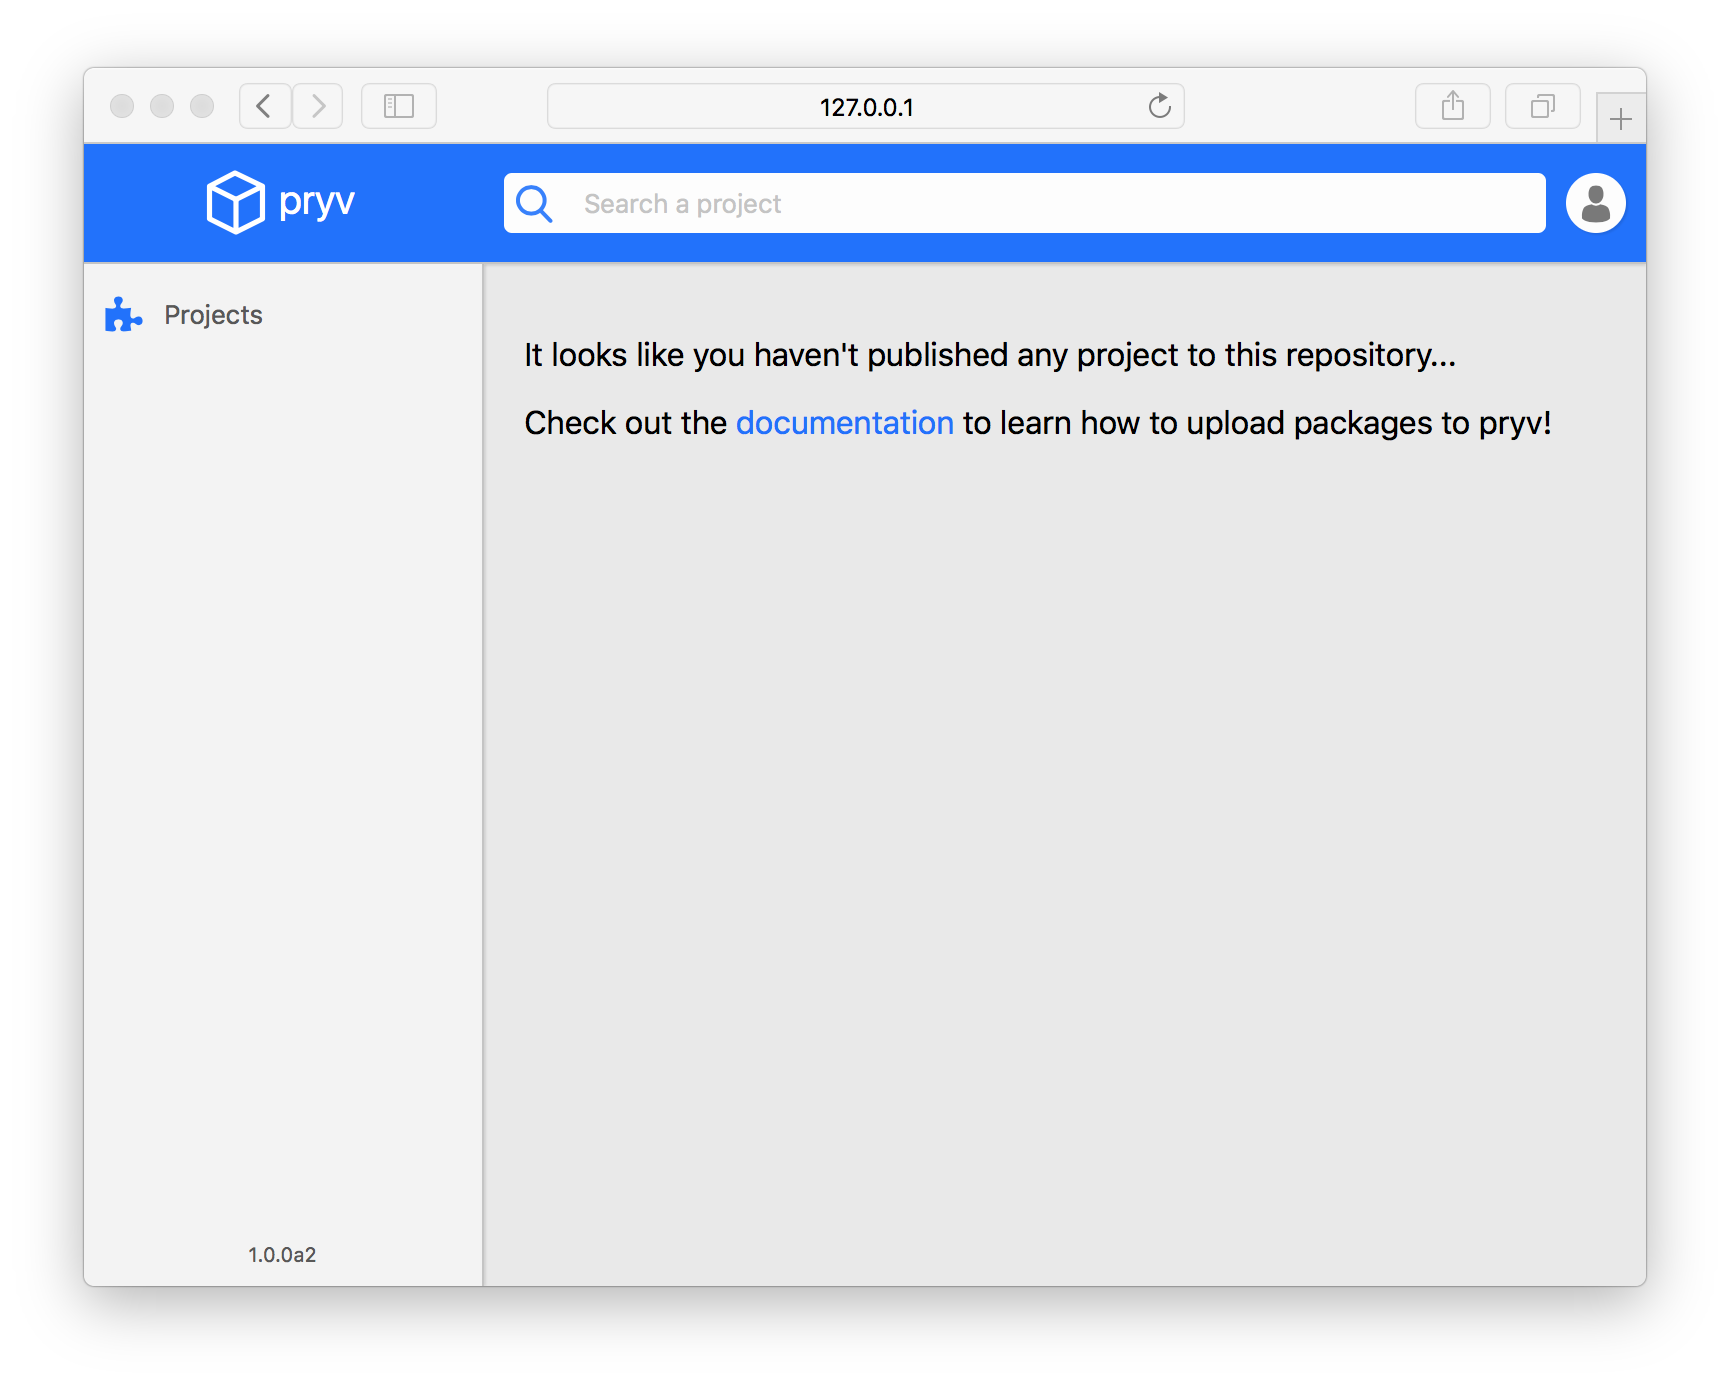
As mentioned on the above image, we now recommend you to have a look at the packages section in order to read more about how to create projects, upload and install packages to and from your pryv server.
You could as well visit the configuration section to learn more on how to configure pryv to meet your requirements.